
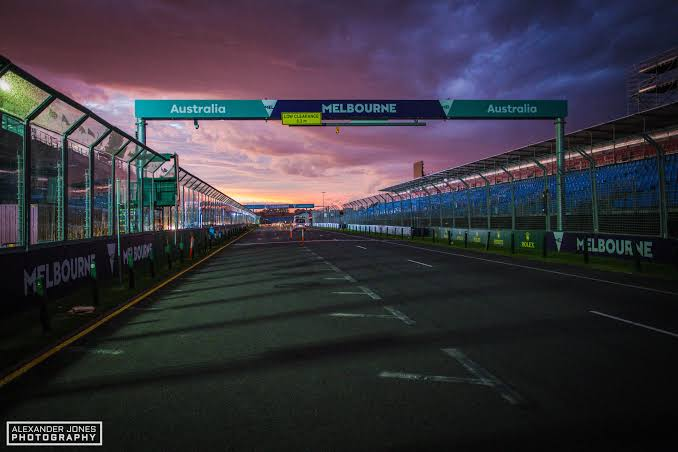
Since shifting from the streets of Adelaide to the parklands of Melbourne, the Australian Grand Prix has cemented itself as one of the jewel events on the global Formula 1 calendar. As a temporary street circuit wrapping around a picturesque lake, the Albert Park layout demands a highly unique compromise from drivers and race engineers alike. It pairs the high-speed thrills of a dedicated road course with the zero-margin-for-error nature of a true concrete-lined street track.
For fans planning their weekend or looking to dissect the engineering realities of the event, the Melbourne race represents far more than just a lifestyle spectacle. It is a grueling, high-speed chess match played out over 58 relentless laps.
1. Circuit Architecture: The High-Speed Flow
Following major track modifications designed to increase overtaking opportunities and boost average speeds, the Albert Park Circuit is faster and more aggressive than ever before.
- The Aggressive Flow: The removal of the old chicane at Turn 9 and Turn 10 transformed the back stretch into a sweeping, high-speed curved run. Drivers now accelerate flat-out down the backside of the lake, reaching speeds well north of 320 km/h before throwing the car into the terrifyingly fast Turn 9 and 10 flip-flop chicane.
- The Setup Compromise: Because the track is composed of public asphalt roads closed off just weeks prior to the event, the surface starts the weekend exceptionally slick and “green.” Teams must dial in high levels of aerodynamic downforce to manage low-speed mechanical grip without sacrificing straight-line speed across the multi-zone DRS sections.
2. Key Overtaking Opportunities
[Turn 1 Primary Braking] ➔ [Turn 3 Complex Out-Braking] ➔ [Turn 9/10 High-Speed Entry]
- Turn 1: The main pit straight leads into a heavy braking zone where cars drop from high gear down to roughly 150 km/h. Clean placement through Turn 1 is critical, as a poor exit compromises the driver’s run down the secondary straight toward Turn 3.
- Turn 3: A premier zone for aggressive out-braking maneuvers. Drivers can leverage the slipstream down the second straight to pull inside on entry, testing their rival’s spatial awareness through a sharp, technical right-hander.